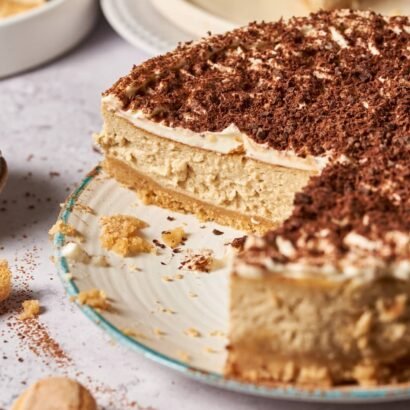
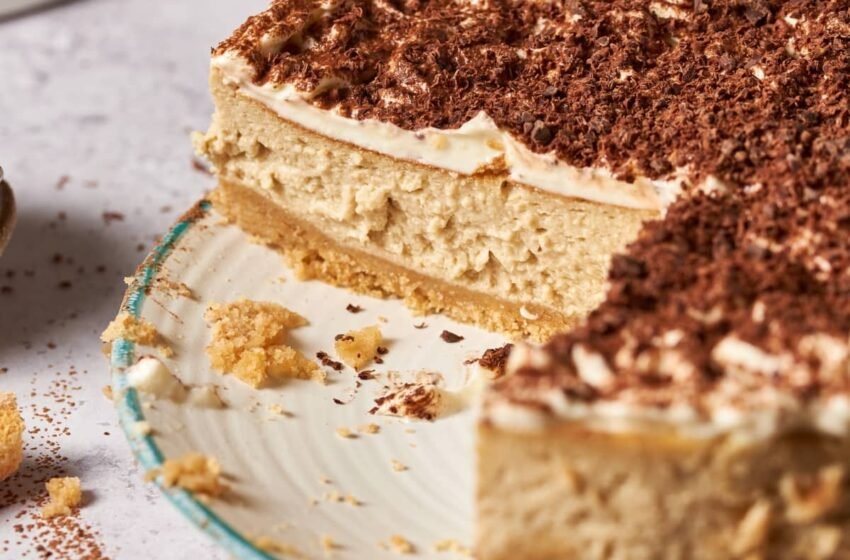
Tiramisu cheesecake is a delightful fusion that marries the rich, creamy texture of cheesecake with the classic flavors of the beloved Italian dessert, tiramisu. Each bite offers a luxurious experience, where the smoothness of the cheesecake complements the coffee and cocoa notes, creating a harmonious balance of sweetness and depth. This indulgent treat often evokes a sense of nostalgia, inviting you to savor every layer as it transports you to a cozy café in Italy. Perfect for gatherings or as a special indulgence, tiramisu cheesecake is a testament to the art of dessert-making, effortlessly combining tradition and innovation.

Tiramisu Cheesecake Recipe
Tiramisu cheesecake is a decadent dessert that combines the creamy richness of cheesecake with the iconic flavors of tiramisu. It features layers of smooth cheesecake infused with coffee and cocoa, often topped with a dusting of cocoa powder or chocolate shavings.
Ingredients
- 1 (12 ounce) package ladyfingers
- ¼ cup unsalted butter, melted
- 2 tbsp coffee-flavored liqueur
- 3 (8 ounce) packages cream cheese, softened
- 1 (8 ounce) container mascarpone cheese, softened
- 1 cup white sugar
- 2 tbsp coffee-flavored liqueur
- ¼ cup all-purpose flour
- 2 large eggs
- 1 teaspoon heavy cream, or more as needed (Optional)
- ¼ ounce semisweet chocolate
Instructions
- Preheat your oven to 350°F (175°C). To create a gentle baking environment for your cheesecake, place a pan filled with water on the lowest rack of the oven. This water bath, or bain-marie, helps maintain moisture in the oven, preventing the cheesecake from drying out and ensuring a smooth, creamy texture. The steam generated from the water will also help regulate the temperature, promoting even cooking and reducing the risk of cracking on the surface of the cheesecake.
- To prepare the crust, begin by crushing the ladyfingers into fine crumbs, either using a food processor or by placing them in a sealed plastic bag and rolling over them with a rolling pin. In a mixing bowl, combine the crumbs with melted butter and coffee-flavored liqueur, stirring until the mixture is well-blended and has a slightly damp texture. This ensures that the crust holds together when pressed. Firmly press the crumb mixture into the bottom of a 9-inch springform pan, creating an even layer that will serve as a solid foundation for your cheesecake. Make sure to compact it well, as this will help the crust maintain its shape during baking and provide a delightful crunch with each bite.
- To prepare the filling, start by beating the cream cheese and mascarpone cheese together with sugar in a large mixing bowl using an electric mixer. Mix on medium speed for about 2 to 3 minutes, or until the mixture is velvety smooth and free of lumps. Be sure to scrape down the sides of the bowl periodically to incorporate all the ingredients evenly. Next, add the coffee-flavored liqueur, which will infuse the filling with a rich, aromatic flavor, and mix until fully combined. Gradually incorporate the flour and eggs, mixing on low speed just until everything is smooth and well-blended. Take care not to overmix, as this can introduce too much air and lead to cracks in the finished cheesecake. If the batter appears too thick, you can add a splash of heavy cream to achieve a lighter, more pourable consistency. Once your filling is ready, gently pour it over the prepared crust, ensuring an even distribution for a beautifully layered dessert.
- Place the cheesecake on the center rack of the preheated oven and bake for 40 to 45 minutes, or until the edges are set while the center remains slightly jiggly. This slight movement indicates that the cheesecake is perfectly cooked without being overbaked, which can cause it to crack. Keep an eye on it towards the end of the baking time; the surface should appear firm and slightly puffed. Once done, remove it from the oven and allow it to cool gradually, as this will help maintain its creamy texture.
- After the baking time is complete, gently open the oven door and turn off the heat. Allow the cheesecake to cool in the oven on the center rack for about 20 minutes. This gradual cooling process helps prevent the cheesecake from sinking or cracking, as the change in temperature is less abrupt. Keeping the door slightly ajar also allows some steam to escape, promoting an even cooling environment. Once this time has passed, you can proceed with further cooling or chilling the cheesecake as needed.
- Carefully remove the cheesecake from the oven and transfer it to a wire rack to cool completely, which will take about 30 minutes. This step is essential, as the wire rack allows air to circulate around the cheesecake, preventing it from becoming soggy on the bottom. Letting it cool completely at room temperature ensures that the texture sets properly and helps prevent cracks. Once fully cooled, you can then refrigerate the cheesecake to let it firm up further before serving.
- Refrigerate the cheesecake for at least 3 hours, or preferably overnight. This chilling time is crucial as it allows the flavors to meld and the cheesecake to firm up, resulting in a smoother texture and more cohesive taste. An extended refrigeration period also enhances the overall enjoyment, as it allows the creamy filling to set perfectly. Before serving, ensure it’s well-chilled for the best experience.
- Just before serving, finely grate semisweet chocolate over the top of the cheesecake. This finishing touch adds an elegant visual appeal and a rich, chocolatey flavor that complements the creamy filling. The chocolate shavings not only enhance the presentation but also provide a delightful contrast in texture, making each bite even more indulgent.


