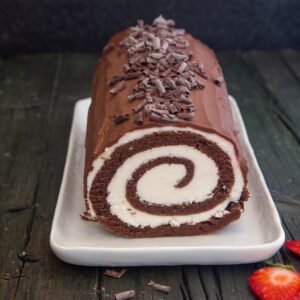
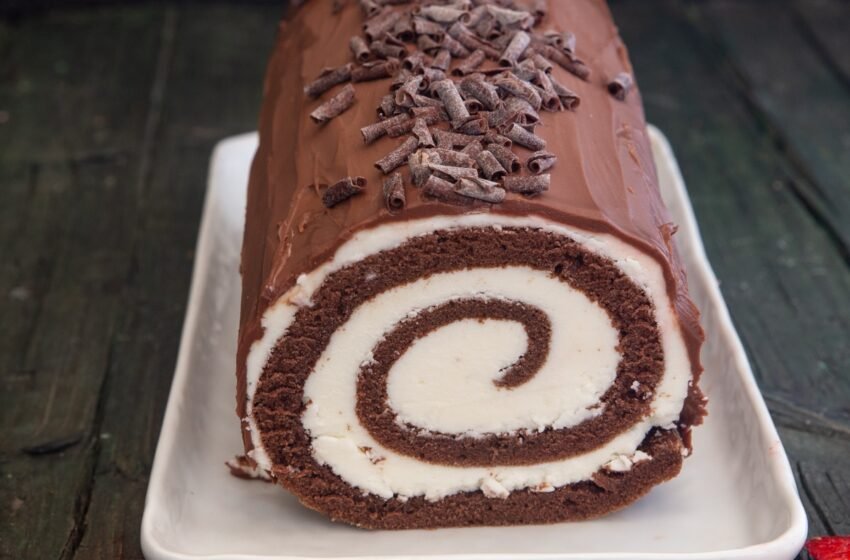
The Chocolate Swiss Roll is a timeless dessert that combines simplicity with indulgence in every bite. With its delicate, airy sponge and velvety chocolate filling, this rolled treat offers a perfect balance of textures and flavors. Its soft, light cake gently encases a rich, smooth layer of chocolate, creating an irresistible swirl that’s both visually striking and delicious. The Swiss Roll’s versatility makes it a favorite for all kinds of celebrations—from birthdays to afternoon teas—while its elegant yet humble design speaks to a kind of comfort and sophistication. Whether served as a showstopper on a dessert table or enjoyed as a sweet snack, the Chocolate Swiss Roll never fails to impress with its perfect harmony of flavors and its whimsical, spiral shape.

Chocolate Swiss Roll
Ingredients
- cooking spray
- ¼ cup all-purpose flour
- ¼ cup cocoa powder, plus more for dusting
- ¼ teaspoon salt
- ⅛ teaspoon baking soda
- 3 large eggs
- ¼ cup white sugar
- ½ teaspoon vanilla extract
- 2½ tablespoons melted butter
- ¾ cup heavy cream
- 2 teaspoons powdered sugar
- ½ teaspoon vanilla extract
- ⅛ cup chocolate-hazelnut spread (such as Nutella)
Instructions
- Preheat the oven to 325°F (165°C). Grease a jelly roll or rimmed sheet pan with cooking spray and line it with parchment paper. This ensures the cake doesn't stick to the pan while baking and makes for easier removal once it’s done. The parchment paper also helps maintain the cake's shape when you roll it later.
- To make the cake, sift together the flour, cocoa powder, salt, and baking soda in a medium bowl. Sifting these dry ingredients helps to break up any clumps, ensuring an even distribution of the cocoa and baking soda. This also helps to aerate the flour, which contributes to a lighter, fluffier texture in the cake.
- Beat the eggs and sugar in a large bowl with an electric mixer on high speed for about 5 minutes, or until the mixture triples in volume. Add the vanilla extract and mix to combine. Gradually fold in the sifted flour mixture on low speed in three parts, alternating with the melted butter, until just incorporated. Be careful not to overmix. Pour the batter into the prepared pan, ensuring it’s spread evenly to a thickness of less than 1/4 inch. This creates a light, airy batter that will bake into a soft, sponge-like cake.
- Bake in the preheated oven for 8 to 9 minutes, or until a toothpick inserted into the center comes out clean. Allow the cake to cool completely in the pan. This ensures that the cake sets properly and is easier to handle when rolling or assembling, preventing it from breaking apart.
- Flip the cake upside down onto a new sheet of parchment paper. Gently peel off the used parchment paper from the top of the cake. Starting at one end, carefully roll the cake into a tube, using the parchment to help guide it, until it is fully rolled. Refrigerate the rolled cake for 2 hours to allow it to set and hold its shape, making it easier to fill and slice later. This cooling step helps the cake maintain its structure when unrolling and filling.
- To make the filling, whip the cream, powdered sugar, and vanilla together in a bowl with an electric mixer until medium peaks form. Gently fold in the chocolate-hazelnut spread until fully combined. This creates a light, sweet, and creamy filling with the rich flavor of hazelnut chocolate, perfect for spreading inside the cake.
- Unroll the chilled cake carefully and spread the filling evenly over the surface. Gently roll the cake back up with the filling inside, being mindful that the cake is delicate and may crack or tear. Once rolled, dust the cake with cocoa powder for an extra touch of flavor and decoration. This step ensures a smooth, beautiful finish and helps to enhance the cake’s appearance.


